Introduction: Why Storage Unit Cleaning Deserves Your Attention
When it comes to moving, packing, and storage, most people focus on logistics, security, and organization. Yet, one critical aspect often overlooked is the cleaning and maintenance of storage units themselves. Whether you’re a first-time renter storing household goods or a facility owner managing dozens of units, an effective cleaning regimen safeguards both your belongings and the long-term value of the storage space. Dust, mold, pests, and grime can creep in over time, threatening everything from family heirlooms to business inventory. A neglected unit not only risks property damage but can also attract unwanted critters or cause compliance headaches down the road. In this comprehensive guide, you’ll discover actionable deep-cleaning techniques, proven schedules, and expert recommendations to keep any storage unit spotless, secure, and ready for use at a moment’s notice.
Understanding Storage Unit Cleaning: What’s at Stake?
Cleaning a storage unit goes far beyond sweeping up dust bunnies. The process involves addressing hidden contaminants, controlling moisture, preventing pest infestations, and prolonging the lifespan of both your stored items and the facility itself. Cleanliness is also a major factor in tenant satisfaction and compliance with health and safety regulations. Let’s break down why regular, systematic cleaning matters:
- Asset Protection: Prevents damage from dust, mold, and pests.
- Health & Safety: Reduces allergens, mold spores, and bacteria.
- Facility Value: Maintains the physical condition of units, reducing repair costs and vacancy rates.
- Compliance: Meets insurance and local health requirements.
Common Contaminants and Cleaning Challenges in Storage Units
1. Dust and Debris
Even units that appear sealed can accumulate significant dust from air leaks, ventilation systems, or nearby construction. Cardboard boxes, wooden furniture, and fabric items are particularly prone to harboring dust.
2. Mold and Mildew
Moisture is the enemy of any storage environment. Leaks, condensation, or high humidity can create the ideal conditions for mold and mildew to take hold, especially on organic materials.
3. Pests
Rodents, insects, and spiders are attracted to clutter, cardboard, and even minute food residues. Once inside, they can quickly multiply and cause costly damage.
4. Residual Odors
Units that have stored musty items, chemicals, or perishables may develop lingering odors that are difficult to remove without a targeted cleaning strategy.
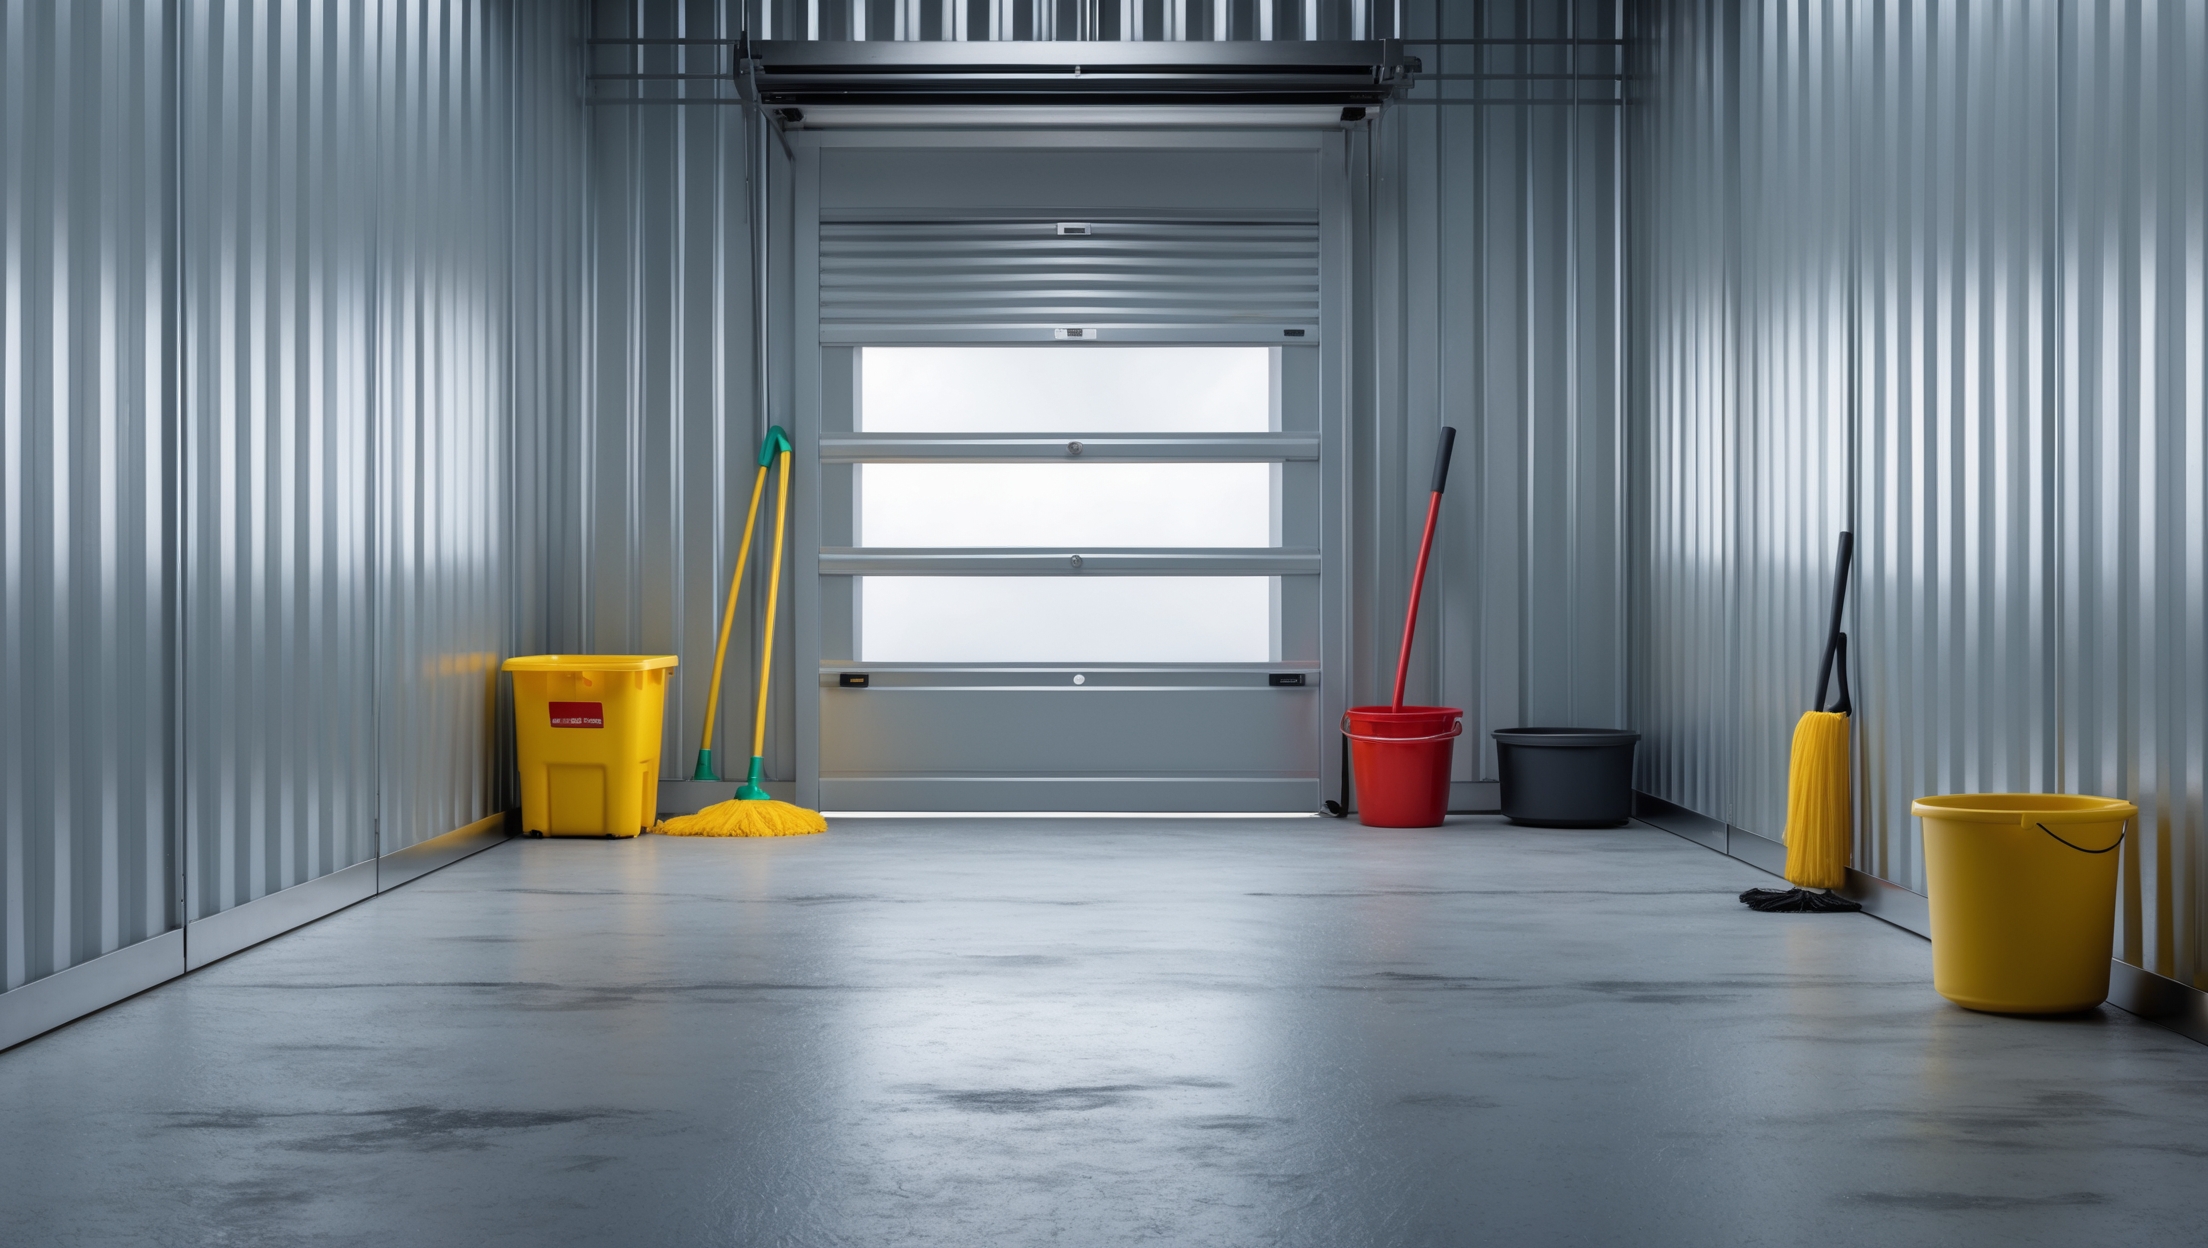
Essential Supplies and Equipment for Storage Unit Cleaning
- Broom and Dustpan: For regular sweeping.
- HEPA Vacuum Cleaner: Ensures fine dust and allergens are removed.
- Mop and Bucket: For deep floor cleaning, especially after spills or pest issues.
- Microfiber Cloths: Ideal for dusting surfaces and hard-to-reach corners.
- All-Purpose Cleaner: Safe for most surfaces; choose a non-abrasive formula to protect finishes.
- Mold and Mildew Remover: Specifically formulated for organic growths.
- Dehumidifier: Useful for reducing moisture in high-humidity climates.
- Pest Control Products: Traps, baits, and deterrent sprays as needed.
- Protective Gear: Gloves, masks, and eye protection, especially when dealing with mold or chemicals.
- Trash Bags: Heavy-duty, for debris and discarded items.
Deep-Cleaning Methods: Step-by-Step for Every Component
1. Empty the Unit Completely
For a true deep clean, all items should be removed. This allows you to access every surface, identify hidden issues, and prevent cross-contamination. If you must clean around stored items, move them to one side temporarily and repeat for the other.
2. Inspect for Moisture and Structural Issues
Check for water stains, leaks, rust, or damage to walls, ceilings, and floors. Early detection can prevent costly repairs and protect stored goods. If you find active leaks or standing water, address these immediately before cleaning continues.
3. Dust and Sweep Thoroughly
- Start from the top (ceiling corners, light fixtures) and work downward.
- Use a microfiber cloth or HEPA vacuum on shelves, ledges, and in corners.
- Sweep the entire floor, paying extra attention to edges where debris collects.
4. Deep Clean Floors and Surfaces
- Use an all-purpose cleaner or floor-safe degreaser for concrete, vinyl, or tile surfaces.
- Mop floors with a damp (not soaking) mop to avoid excess moisture.
- Spot-clean stubborn stains or spills with a scrub brush.
5. Address Mold and Mildew
- Apply a commercial mold remover or a solution of 1 part bleach to 10 parts water on affected areas.
- Allow to sit for at least 10 minutes before scrubbing.
- Ventilate the space during and after treatment to expedite drying and reduce fumes.
6. Eliminate Odors
- Place odor absorbers (such as activated charcoal or baking soda) in the unit for several days.
- For persistent smells, consider using an ozone generator or a professional-grade air purifier.
7. Pest Prevention
- Inspect and seal any obvious gaps in floors, walls, or doors.
- Set bait stations or traps if there’s evidence of pests.
- Avoid using strong pesticides around stored items; opt for targeted, facility-approved methods.
8. Final Inspection and Reorganization
- Once cleaning is complete, inspect all surfaces for missed spots or damage.
- Replace desiccant packs or dehumidifiers as needed.
- Return items to the unit, ensuring everything is dry and clean before restorage.
Recommended Cleaning Schedules: Frequency and Seasonal Adjustments
Monthly Quick Clean
- Sweep floors and dust visible surfaces.
- Check for new signs of pests, leaks, or mold.
- Empty trash and rotate stored items if possible.
Quarterly Deep Clean
- Remove all items for a full inspection and cleaning.
- Vacuum or mop floors, wipe down shelves and walls.
- Test dehumidifiers and check desiccant packs.
Seasonal & Weather-Driven Adjustments
- After heavy rain or snow, inspect for water intrusion and address promptly.
- In summer, check for increased humidity and run dehumidifiers or fans as needed.
- Before winter, seal gaps, and ensure no water is trapped inside to prevent ice damage.
Pro Tips for Efficient, Hassle-Free Cleaning
- Label and Organize: Store items in clear, labeled bins to make cleaning around them easier.
- Elevate Belongings: Use pallets or shelving to keep items off the floor, reducing moisture risk and simplifying floor cleaning.
- Use Entry Mats: Place a heavy-duty mat just inside the door to catch dirt before it enters the unit.
- Keep a Checklist: Document each cleaning session, noting issues or recurring problems for proactive maintenance.
- Routine Inspections: Even if you don’t plan a full clean, check on your unit regularly to catch problems early.
- Choose Appropriate Cleaners: Avoid harsh chemicals that may damage finishes or leave lingering fumes around stored items.
Professional vs. DIY Cleaning: When to Call in the Pros
DIY Cleaning: Ideal For
- Personal storage units with manageable contents.
- Routine monthly or quarterly maintenance.
- Minor mold, dust, or pest issues.
Professional Cleaning: Recommended When
- Units are affected by extensive mold or hazardous materials.
- There’s evidence of a major pest infestation.
- You manage multiple units and want to guarantee consistent standards.
- Odors or stains persist despite repeated cleaning efforts.
Special Considerations for Different Storage Types
Climate-Controlled Units
While these units help mitigate temperature and humidity swings, they still require cleaning. Focus on air vents, filters, and climate equipment; replace filters according to manufacturer guidelines and check for condensation buildup.
Outdoor/Drive-Up Units
These are more susceptible to dust, dirt, and moisture. Check door seals regularly, and sweep out leaves or debris brought in by wind or tracked by vehicles.
Specialty Storage (Wine, Documents, Art)
Follow industry-specific protocols, using only approved cleaning agents and maintaining strict environmental controls. Schedule more frequent inspections due to the high value and sensitivity of contents.
Maintaining Cleanliness Between Deep Cleans
- Encourage regular visits to spot issues early.
- Install moisture and pest detectors for proactive alerts.
- Encapsulate sensitive items in plastic or airtight containers.
- Discourage food or organic material storage to reduce pest risk.
Conclusion: Clean Units, Protected Investments
Keeping your storage unit clean isn’t just about appearances—it’s about protection, value preservation, and peace of mind. Whether you’re a tenant storing cherished possessions or a facility manager aiming for top-tier service, a rigorous cleaning routine is the foundation of a well-maintained space. Regular cleaning helps you detect minor issues before they escalate, safeguards your belongings against preventable damage, and ensures your unit remains a secure, healthy environment for months or years to come. By investing a little time and effort into deep-cleaning and maintenance, you’ll avoid costly repairs, reduce health hazards, and ultimately get the most from your storage experience. Use the methods, schedules, and pro tips shared in this guide to develop a plan tailored to your needs—and enjoy spotless, trouble-free storage for the long haul.
I noticed you mentioned the importance of controlling moisture and preventing mold in storage units. Are there certain types of household items that are especially vulnerable to moisture or mold damage, and do you have tips for protecting those specifically?
Yes, some household items are particularly sensitive to moisture and mold, such as upholstered furniture, mattresses, clothing, paper documents, books, and electronics. To protect these, store upholstered items in breathable covers rather than plastic, use airtight containers for papers and clothes, and consider silica gel packets or moisture absorbers inside boxes. Always make sure items are dry before storing and, if possible, elevate items off the floor to improve air circulation.
If a storage unit has already developed a minor pest issue, like finding evidence of mice or bugs, what’s the most effective way to sanitize and prevent recurrence without having to empty the entire unit? Are there targeted steps you recommend?
If you notice signs of pests in your storage unit but can’t empty it completely, start by removing and disposing of any infested or damaged items. Clean around accessible areas with a disinfectant, focusing on corners and along walls where pests hide. Use pest deterrents like traps for mice or insect baits, and seal any gaps or cracks you find. Regularly check the unit and refresh traps as needed. Avoid storing food or organic materials, as these attract pests. These targeted steps help control the issue without a full move-out.