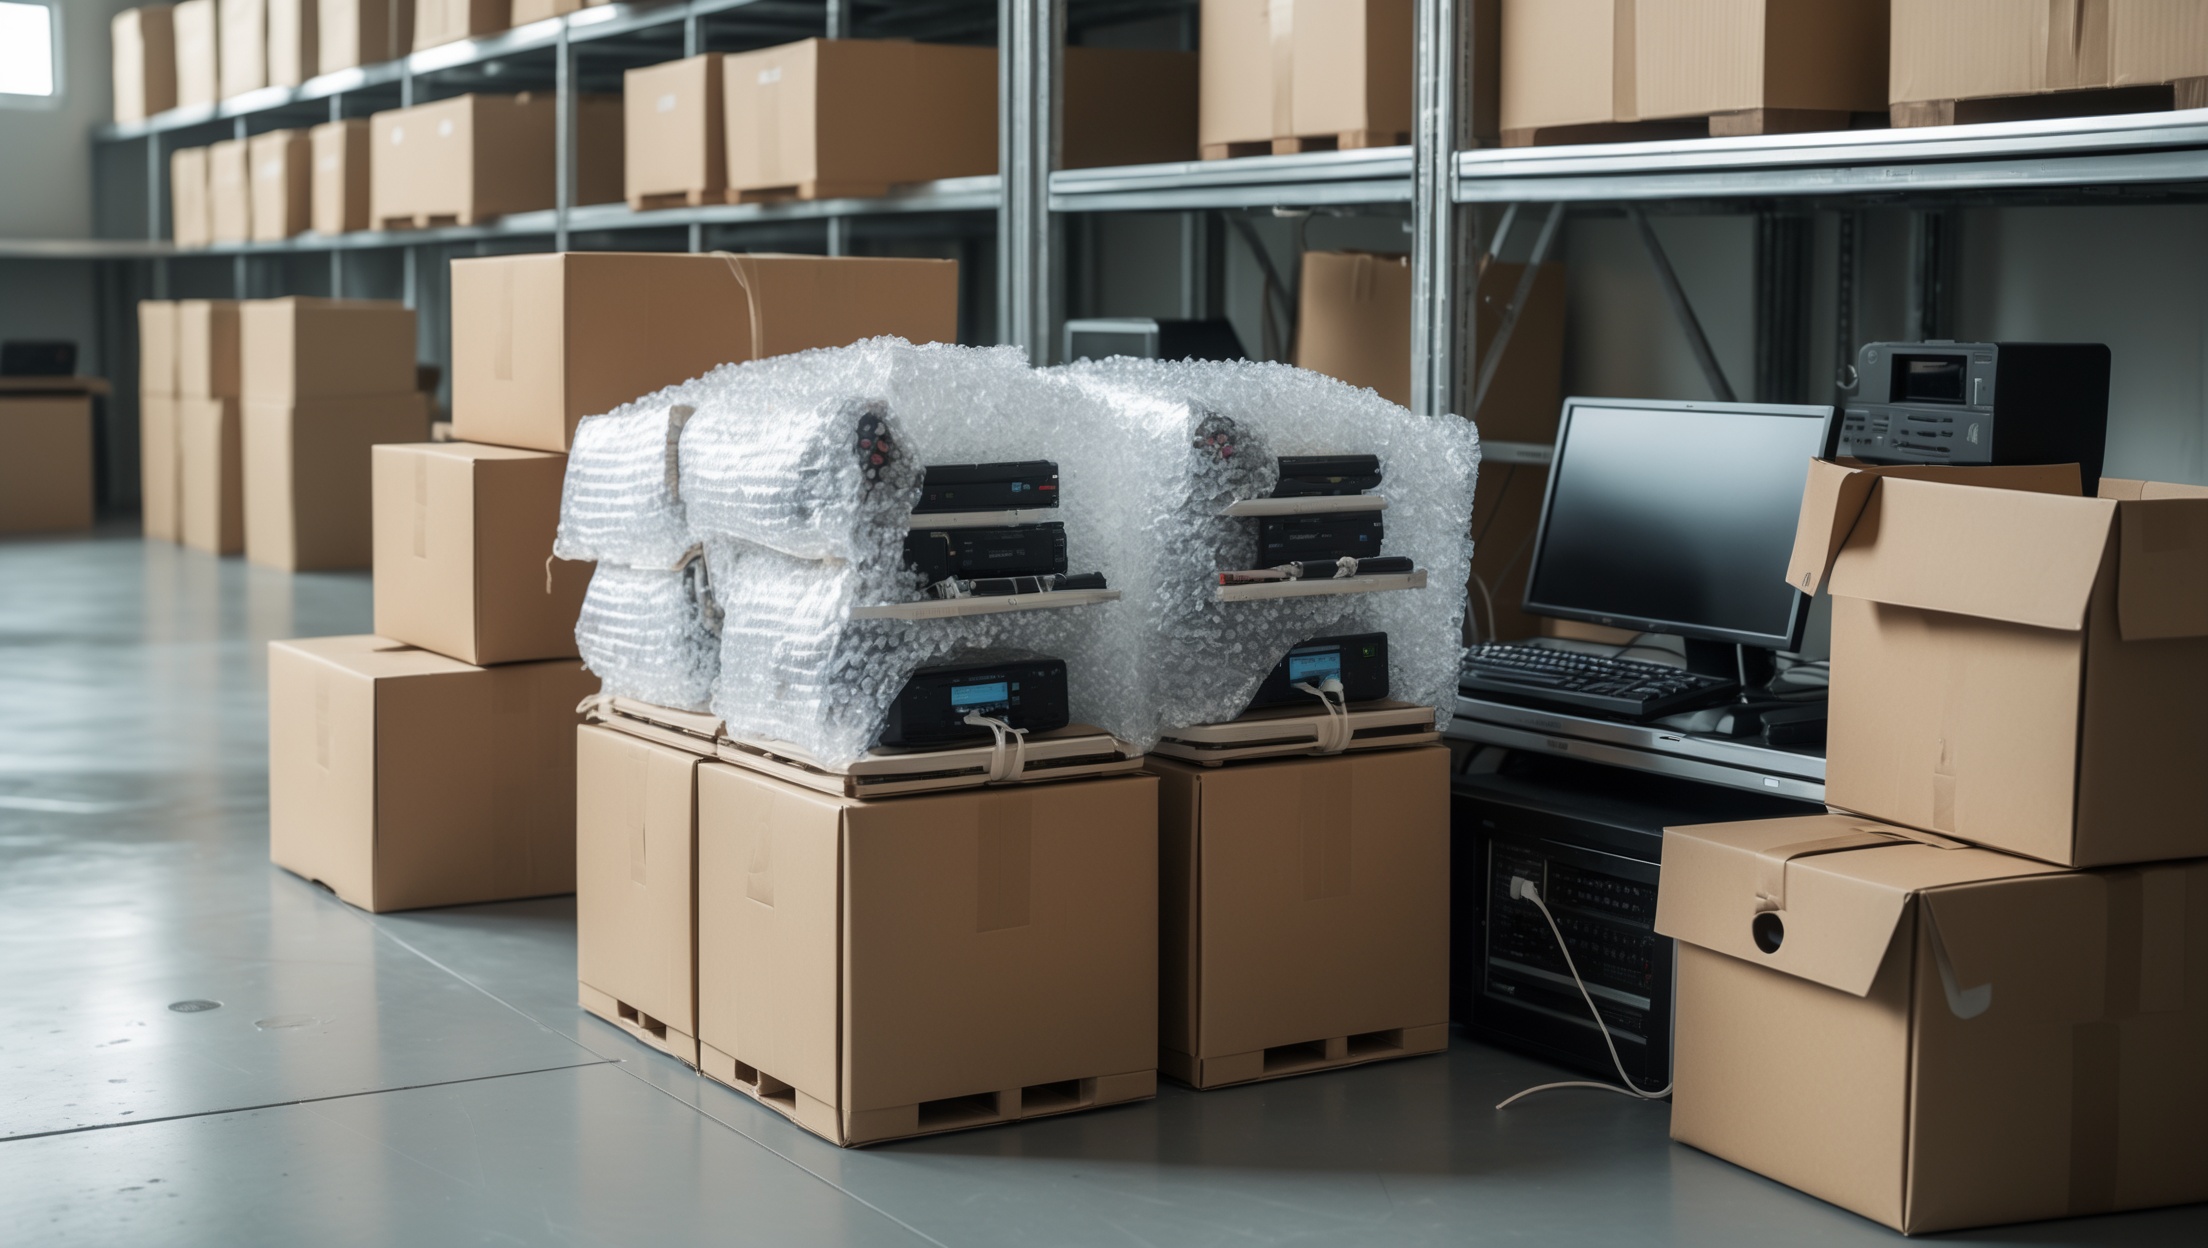
Packing Electronics for Moving and Storage: Expert Steps to Prevent Damage
Moving or storing electronics involves more than just tossing them into boxes. Unlike furniture or clothing, electronics are sensitive to static, moisture, temperature changes, and physical shocks. Mishandling can result in data loss, broken screens, fried circuits, or even total device failure—costly and sometimes irreversible mistakes. Whether you’re a homeowner safeguarding your home theater, a business relocating servers, or a student stowing away a gaming console, understanding proper packing and storage procedures can save you time, money, and frustration.
This guide delivers actionable, step-by-step advice for packing and storing electronics—computers, TVs, audio gear, gaming systems, networking devices, and more. You’ll learn how to prepare devices, select and use the right materials, master labeling for easy reconnection, manage cables and accessories, and address climate control requirements. Plus, we’ll cover troubleshooting common moving-day issues, so your devices arrive ready to work. Let’s get started!
Preparing Electronics for Packing
Step 1: Backup Important Data
Before unplugging anything, ensure you’ve backed up essential data from computers, tablets, and smartphones. Use external drives or secure cloud services. This precaution prevents data loss if a device is damaged or lost during the move.
- For computers: Use built-in backup utilities (Time Machine for Mac, File History for Windows).
- For mobile devices: Sync with cloud accounts (Google Drive, iCloud, OneDrive) or local backup options.
Step 2: Document Device Setups
Take clear photos of cable connections and device arrangements before disassembly. Label cables and ports with masking tape or color-coded stickers. Keep a digital or printed copy of these photos for easy reassembly.
Step 3: Remove Batteries and Discs
Remove all batteries—AA, AAA, lithium-ion, or built-in rechargeables if possible—to prevent leaks or explosions. Eject discs, SD cards, and flash drives from laptops, cameras, and game consoles. Store these separately in labeled containers.
Step 4: Disconnect and Clean Devices
Unplug electronics carefully. Dust off surfaces and vents using a microfiber cloth or compressed air. Clean screens with alcohol-free wipes. Removing dust and debris reduces the risk of overheating and prevents grime from setting during storage.
Choosing the Right Packing Materials
Original Packaging: The Gold Standard
Whenever possible, use the manufacturer’s original box, foam inserts, and protective sleeves. These are tailored to fit and cushion the device perfectly, reducing movement and impact.
Alternative Packing Supplies
- Sturdy, appropriately sized boxes: Use double-walled boxes for heavier or larger electronics.
- Anti-static bubble wrap: Standard bubble wrap can create static, which damages sensitive circuits. Use pink anti-static versions for computers, hard drives, and circuit boards.
- Foam sheets and corner protectors: Add extra cushioning for screens and fragile edges.
- Seal-able plastic bags: Use anti-static bags for small electronics, cables, and components.
- Silica gel packs: Place a few packets in each box to absorb moisture and prevent condensation.
- Strong packing tape and labels: Seal boxes securely and label contents clearly with “Fragile – Electronics,” device types, and room destination.
What Not to Use
- Newspaper: Ink can transfer to screens and vents.
- Loose packing peanuts: These can create static and lodge inside device vents or ports.
- Plastic wrap directly on screens: Traps moisture and may cause smudges or residue.
Packing Step-by-Step: Device-Specific Guidance
Packing Televisions and Monitors
- Remove stands and wall mounts; pack separately and label hardware.
- Wrap screens with a soft microfiber cloth, then anti-static bubble wrap.
- Use foam corner protectors for extra safety.
- Place upright in a snug box; fill gaps with foam or blankets to prevent shifting.
Packing Computers and Laptops
- Detach all peripherals (keyboard, mouse, speakers); pack separately.
- Wrap CPU and monitors in anti-static bubble wrap.
- Use anti-static bags for internal components (e.g., GPUs, RAM) if removed.
- Do not stack anything heavy on top of computers or laptops.
Packing Audio Equipment
- Remove and pack detachable cables, antennas, and accessories.
- Wrap receivers, amplifiers, and speakers individually in bubble wrap.
- Use foam padding around knobs and delicate parts.
- Label all cables and ports for reassembly.
Packing Small Electronics (Tablets, Cameras, Gaming Consoles)
- Wrap each item in an anti-static bag, then bubble wrap.
- Place in small, sturdy boxes with padding between items.
- Bundle chargers, controllers, and accessories separately; label clearly.
Packing Printers and Scanners
- Remove ink or toner cartridges; store upright in zip bags to prevent leaks.
- Lock moving parts (if applicable) using manufacturer’s instructions.
- Wrap in bubble wrap and pack upright in a cushioned box.
Cable Management and Organization
Labeling Cables and Ports
Use colored tape, numbered stickers, or pre-printed labels to identify each cable and its corresponding port. This system eliminates confusion during reassembly, especially for multi-component setups.
Bundling and Packing Cables
- Coil cables loosely to prevent kinks or internal wire breakage.
- Secure with Velcro straps or twist ties—avoid rubber bands, which degrade and stick over time.
- Place cables in zip bags or cord organizers, then label each bag.
Storing Remote Controls and Accessories
Pack remotes, chargers, and small accessories in a designated box. Label this container clearly and keep it accessible for quick setup at your destination.
Climate Control and Storage Conditions
Why Climate Matters
Electronics are highly sensitive to temperature extremes and humidity. Excessive heat can melt solder joints; cold can cause condensation, leading to corrosion. Ideally, store electronics in a climate-controlled environment (between 50–80°F; humidity under 60%).
Short-Term vs. Long-Term Storage Considerations
- Short-term (less than 1 month): A clean, dry indoor space is usually sufficient.
- Long-term (more than 1 month): Prioritize climate-controlled storage units. Add extra silica gel desiccant packs and consider covering boxes with breathable fabric sheets to deter dust.
Placement in Storage
- Never place electronics directly on concrete floors—use pallets or shelving to promote air circulation and reduce temperature fluctuations.
- Keep electronics away from doors, windows, or vents where moisture and temperature can vary rapidly.
- Stack boxes with heavier, less fragile items on the bottom; electronics should always be on top.
Special Considerations: Data Security and Insurance
Protecting Personal Information
If you’re storing or moving devices that will be out of your control (e.g., with a moving company or in a shared storage facility), encrypt hard drives and log out of all accounts. For particularly sensitive information, consider removing and securely storing hard drives separately.
Insurance for Electronics
Check that your homeowner’s, renter’s, or business insurance covers electronics during moving and storage. Photograph all devices and record serial numbers. If not covered, ask your moving company or storage provider about supplemental insurance options.
Moving Day: Troubleshooting and Last-Minute Tips
Transporting Electronics Safely
- Transport high-value or irreplaceable items (laptops, hard drives, cameras) in your personal vehicle rather than the moving truck, if possible.
- Keep devices upright and secure to prevent jostling.
- Plan your loading order—electronics should be loaded last and unloaded first.
Common Issues and How to Avoid Them
- Condensation: Allow devices to reach room temperature for several hours before turning them on after a cold move. Plugging in electronics while moisture is present can cause short-circuiting.
- Missing parts: Keep an inventory checklist; tape a list of contents to each box.
- Static discharge: Use anti-static wristbands when handling sensitive internal components.
Unpacking and Setting Up: Ensuring a Smooth Reboot
Inspection and Reassembly
- Inspect each box for signs of damage before opening.
- Unpack electronics in a clean, dry environment.
- Use your pre-move photos and labeling system to reconnect devices properly.
- Install batteries and reconnect power only after devices reach room temperature.
Testing Devices
- Power up each device one at a time.
- Test all functions—display, sound, network connection, peripherals.
- If something doesn’t work, check cable connections, then consult your device’s troubleshooting guide before seeking repairs.
Conclusion: Protecting Your Electronics Investment
Electronics represent a significant financial and personal investment. Taking the time to pack, store, and transport them correctly isn’t just about avoiding repair bills—it’s about preserving your data, memories, and productivity. By backing up information, documenting setups, using the right packing materials, and prioritizing climate control, you minimize risk and maximize your devices’ lifespan. Remember to label thoroughly, manage cables with care, and keep insurance up to date. Whether you’re storing equipment for a few weeks or moving across the country, these expert strategies will help your electronics survive the journey and perform flawlessly when you need them again.
If you’ve followed this guide, your electronics are well-protected. The payoff? Fewer headaches, no lost data, and a seamless setup at your new location. For those with particularly valuable or complex setups, consider consulting a professional moving service with electronics experience for added peace of mind. Your devices—and your future self—will thank you.