Introduction: Why Moisture Control in Storage Units Matters
When it comes to moving, packing, and storing your belongings, one of the most underestimated threats is moisture. Whether you’re safeguarding antique furniture, important documents, seasonal clothing, or everyday household items, excess humidity and moisture can quietly wreak havoc in storage units—leading to mold, mildew, rust, warping, and irreparable damage. Many renters make the mistake of assuming their unit is automatically protected, only to discover costly losses months later.
This comprehensive guide reveals the science behind moisture in storage environments, details the tools and equipment that truly work, and offers step-by-step best practices for proactive moisture management. You’ll learn how to assess risk, select the right solutions, and implement a foolproof strategy—whether you’re a first-time renter, a frequent mover, or managing a storage facility. Our actionable tips are grounded in industry expertise and designed to help you protect your belongings year-round, no matter the climate.
Understanding Moisture Risks in Storage Units
Common Causes of Humidity and Dampness
Moisture can infiltrate even the cleanest, most secure storage units. Key risk factors include:
- Climate: Humid environments, especially in coastal and southern regions, naturally introduce more moisture into storage spaces.
- Building Materials: Concrete floors and metal walls can ‘sweat’ during temperature fluctuations, leading to condensation inside units.
- Poor Ventilation: Units lacking adequate airflow trap humid air, exacerbating moisture buildup and encouraging mold growth.
- Stored Items: Packing away items that are already damp or storing organic materials (like fabric, wood, or paper) increases risk.
- Weather Events: Heavy rain, flooding, or snowmelt can introduce water directly or raise humidity levels inside units.
What Can Go Wrong?
- Mold and Mildew: Can spread rapidly, damaging furniture, clothes, books, and electronics.
- Rust and Corrosion: Metal tools, bicycles, and appliances are especially vulnerable.
- Warping and Cracking: Wood and leather items may permanently deform.
- Pest Attraction: Moist environments draw insects and rodents, compounding the problem.
Assessing Your Storage Unit’s Moisture Risk
Location and Climate Analysis
Start by considering your unit’s geographic location and the building’s design. Is your unit in a high-humidity climate? On a ground floor or basement level? Older buildings may lack moisture barriers. Review local weather patterns and ask the facility manager about drainage and past flooding incidents.
Inspecting the Unit Before Move-In
- Check for visible water stains, mold, or musty odors.
- Look for cracks in walls or flooring, which may allow water seepage.
- Test door and window seals for gaps.
- Ask if the facility offers climate-controlled units or dehumidification.
Ongoing Monitoring
- Use a digital hygrometer to monitor humidity levels (aim for 30–50% relative humidity).
- Inspect your unit regularly, especially after storms or during seasonal changes.
Essential Tools for Moisture Control
Dehumidifiers
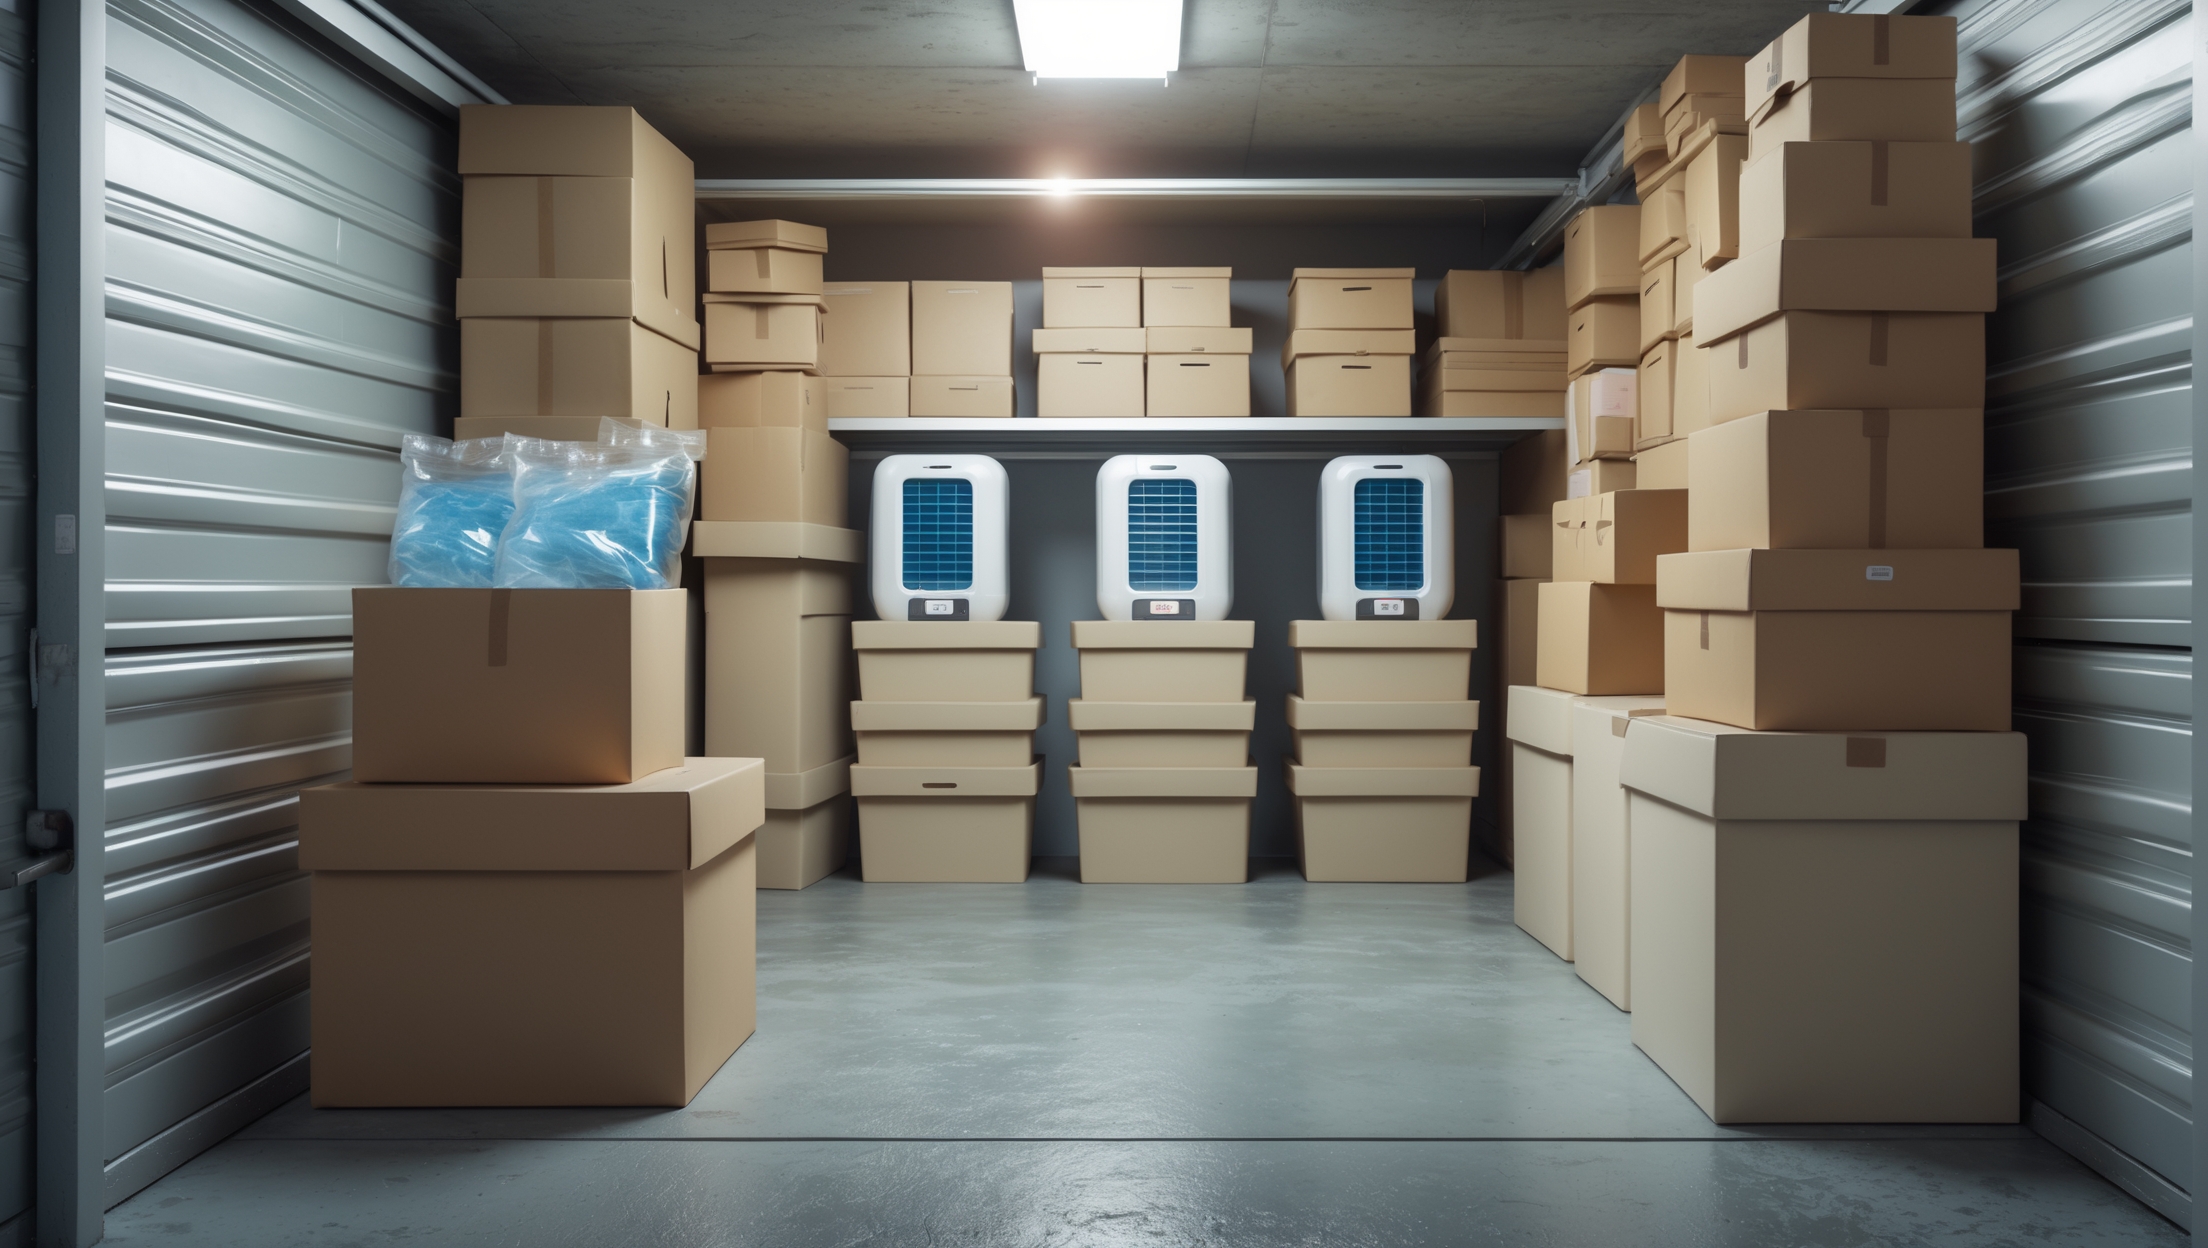
Plug-In Dehumidifiers: For units with electrical access, a portable dehumidifier is your best defense against high humidity. Choose a model suited for the unit’s size and empty the reservoir regularly. Some facilities provide central dehumidification—ask before you rent.
Desiccant Dehumidifiers: For units without power, use large-scale desiccant dehumidifiers, which absorb moisture using silica gel, calcium chloride, or clay-based materials. Place them strategically (corners, near doors, on shelving).
Moisture Absorbers
- Silica Gel Packs: Ideal for boxes, storage bins, and with sensitive items like electronics or documents. Replace every 1–3 months or as indicated.
- Calcium Chloride Buckets: Sold as DampRid or similar, these are effective for larger, enclosed spaces. Monitor for liquid accumulation and replace as needed.
- Baking Soda: Place open boxes in corners as a budget-friendly moisture absorber.
Vapor Barriers and Insulation
- Plastic Sheeting: Lay heavy-duty plastic under items on concrete floors to prevent contact with rising moisture.
- Insulated Covers: Use for valuable furniture or electronics to reduce condensation risk.
Storage Containers
- Airtight Plastic Bins: Far superior to cardboard, which absorbs moisture and harbors mold.
- Vacuum-Sealed Bags: Protect textiles, clothing, and bedding from humidity and pests.
Best Practices for Moisture-Proof Packing and Storage
Preparation: Clean, Dry, Inspect
Before packing items for storage, ensure everything is completely dry. Clean and inspect for pre-existing mold, mildew, or rust. For clothing and textiles, launder and dry thoroughly. Wipe down appliances and furniture, and use a disinfectant to deter mold spores.
Strategic Packing
- Use airtight plastic bins for most items. Avoid cardboard except for short-term storage.
- Wrap sensitive items in acid-free paper, then place silica gel packets inside containers.
- Never pack damp items—if in doubt, air dry for 24–48 hours before packing.
Organizing Inside the Unit
- Elevate boxes and furniture off the floor using pallets or shelving units.
- Leave space between boxes and walls to promote airflow.
- Cover items loosely with breathable sheets (not plastic tarps) to prevent trapping moisture.
- Position moisture absorbers and desiccant packs at key points: near doors, in corners, and inside boxes.
Routine Maintenance
- Check and replace moisture absorbers monthly.
- Inspect for visible condensation, mold, or musty odors each visit.
- Rotate and reposition items to maintain airflow.
Pro Tips for Every Climate
Humid, Coastal, or Southern Regions
- Choose climate-controlled units whenever possible.
- Double up on moisture absorbers and monitor humidity weekly.
- Store electronics and documents in airtight bins with extra silica gel.
Cold or Variable Climates
- Watch for condensation during freeze/thaw cycles—insulate sensitive items.
- Use vapor barriers under everything, especially on concrete floors.
- Visit after storms or snowmelt to check for leaks or dampness.
Long-Term Storage
- Opt for professional-grade desiccant buckets or refillable silica canisters.
- Schedule quarterly deep inspections.
- Consider insurance that covers water damage (always read the fine print).
What to Do If You Discover Moisture or Mold
Immediate Actions
- Remove affected items and dry them outdoors, if possible.
- Clean mold with a solution of vinegar or specialized cleaner—wear gloves and a mask.
- Increase ventilation by leaving the unit door open for several hours (if safe and permitted).
- Replace all moisture absorbers immediately.
Assessing Damage
- Throw away any items with extensive mold or water damage that can’t be salvaged.
- Contact your storage facility manager to report leaks or recurring moisture issues.
- Review your insurance policy: some providers require prompt notification for claims.
Prevent Recurrence
- Seal any visible cracks or gaps with appropriate caulk or weatherproofing.
- Upgrade to a climate-controlled unit if possible.
- Re-evaluate your packing and monitoring routines.
Facility Owner: Moisture Management Strategies
Infrastructure Upgrades
- Install vapor barriers beneath flooring, especially for ground-level and basement units.
- Upgrade insulation and ensure roofs and walls are free from leaks.
- Add centralized dehumidification systems in high-risk buildings.
Customer Education
- Provide clear guidelines about moisture prevention in your welcome packet.
- Offer moisture control products (desiccants, plastic sheeting) for sale onsite.
- Host seasonal workshops on storage best practices.
Routine Maintenance and Inspections
- Schedule regular checks for roof leaks, wall cracks, and drainage issues.
- Keep gutters and drains clear year-round.
- Respond quickly to reports of water ingress or mold.
Conclusion: Protecting Your Belongings from Moisture—A Smart Investment
Moisture may be invisible, but its impact on stored belongings is anything but. From warped wood and ruined electronics to irreparable mold damage, the risks are significant—and often irreversible. But with the right knowledge, tools, and proactive habits, you can keep your possessions safe and dry year-round.
Assess your storage unit’s moisture risk before you move in. Invest in proven moisture control solutions: dehumidifiers, desiccant packs, vapor barriers, and airtight containers. Never store items that aren’t completely dry, and inspect your unit regularly. Remember, prevention is far less costly than restoration or replacement.
For facility owners and managers, prioritizing moisture control not only protects your reputation but also reduces maintenance costs and claims. Providing resources and education empowers customers and helps your business stand out.
Whether you’re a renter, a frequent mover, or a storage pro, moisture control is a simple, smart investment in the longevity and value of your belongings. Start today, and enjoy true peace of mind every time you lock your storage unit door.
I noticed you mentioned that even clean, secure units can have moisture issues due to things like temperature changes and building materials. How often should I check my unit for moisture problems, and what signs should I be looking for before damage becomes serious?
It’s a good idea to check your storage unit for moisture every month, especially if there have been weather changes or high humidity. Look for signs like condensation on walls, musty odors, damp spots on floors or boxes, and any visible mold or mildew. Catching these early will help you address moisture before it causes significant damage to your belongings.
The article talks about climate and ventilation as big factors for moisture in storage units. If I’m renting in a humid area and the facility doesn’t seem to have extra ventilation, what’s the best DIY way to improve airflow inside a standard unit?
If your storage unit lacks good ventilation, you can still boost airflow by using battery-powered fans or solar-powered vent fans inside the unit. Arrange your items with space between them to let air circulate, and avoid stacking boxes against walls. Placing moisture absorbers like silica gel or desiccant packs also helps manage humidity. Just be sure to check with the facility about any devices you plan to use, as some may have rules about modifications or power sources.
If I already packed some items that might have been a little damp, is there anything I can do now to avoid mold spreading, or is it too late once they’re in storage? Would it help to reposition items inside the unit or should I unpack everything?
It’s not too late to help prevent mold. If you suspect some items were stored damp, it’s best to unpack them, let them dry completely, and wipe down any surfaces if possible. Afterward, repack using breathable materials. Repositioning items to allow air circulation can also help, but drying damp items is the most important step to stop mold from spreading.
Our storage facility is located in a humid southern climate, and we struggle with condensation on concrete floors after big temperature swings. Are there specific materials or coatings you’d recommend to help combat this, or is ventilation usually more effective?
For condensation on concrete floors, both materials and ventilation can help. Applying a concrete sealer or epoxy coating can reduce moisture absorption and make cleaning easier. For ongoing humidity, installing vents or using dehumidifiers is often more effective, as ventilation helps circulate air and minimize condensation. A combination of a quality floor coating and improved airflow tends to provide the best results in humid climates.